On this page
Configure ticket system
The configuration defines the status model, types, priorities, categories and additional ticket fields of a workspace.
Where to find it
Open Tickets → Settings and the relevant sub-area.
Requirements and permissions
All described changes require tickets.settings.manage and a coordinated business process.
Step by step
Configure ticket system
- Status represents the stations of a ticket process.
- Types classify the business purpose.
- Priorities make urgency comparable.
- Categories structure further assignments.
- Custom Fields complement workspace-specific information.
- Document the desired process and the affected teams.
- Check if the value is already used in existing tickets.
- Create new values before removing or replacing old ones.
- Test planting, processing, filtering and board grouping with a test ticket.
- Inform affected people about changed meanings.
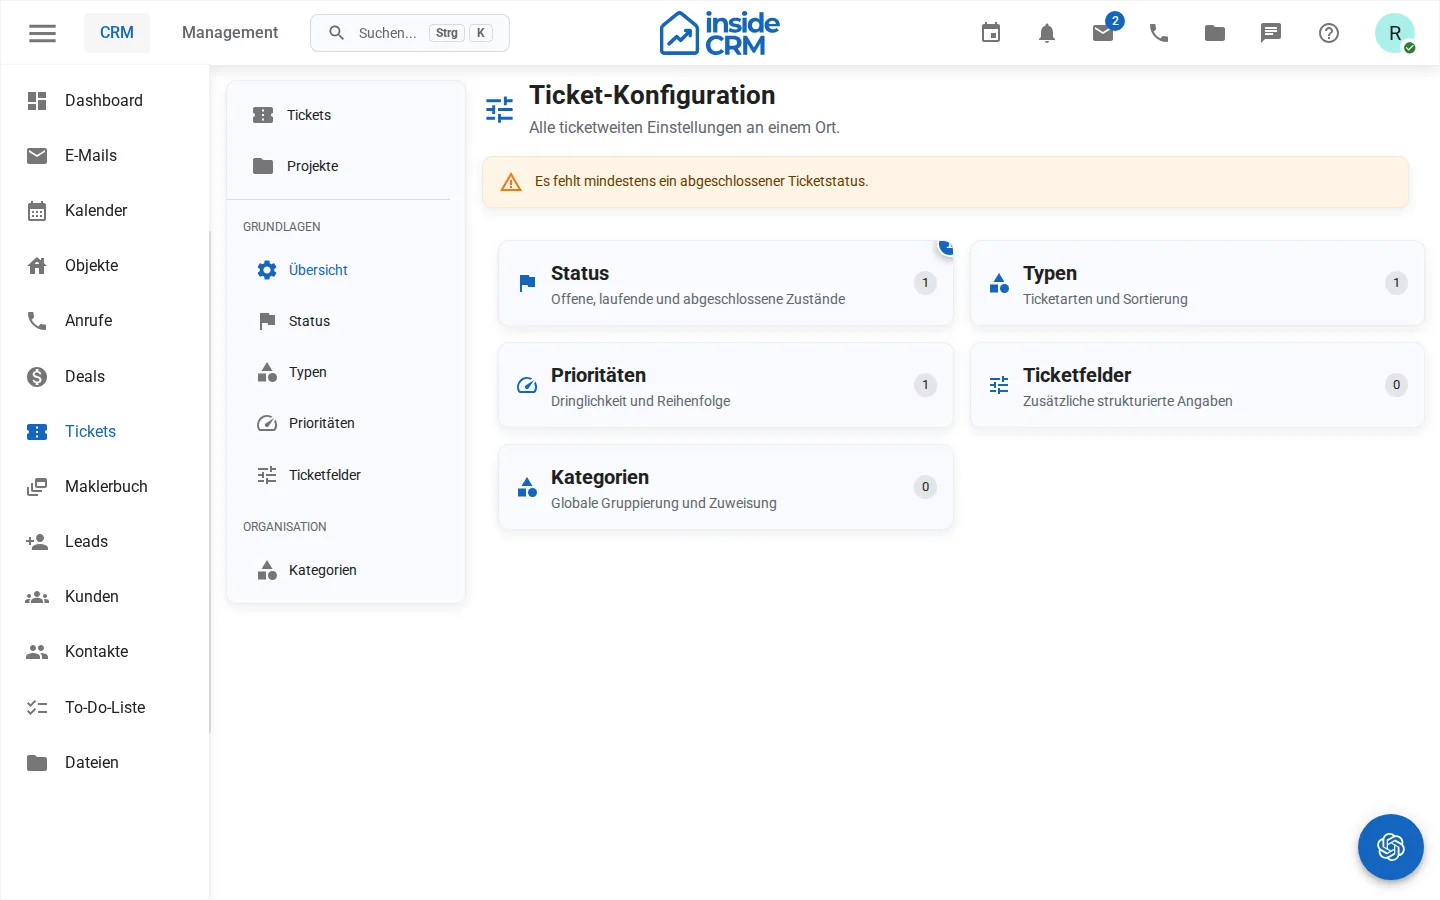
Manage ticket status
- Open Tickets → Settings → Statuses and create or edit a status.
- Enter its Name, Color, Points and Order.
- Enable Closed status only for states that should count as completed tickets.
- Save and test the status in the list and board. Also check the counts of open and completed tickets.
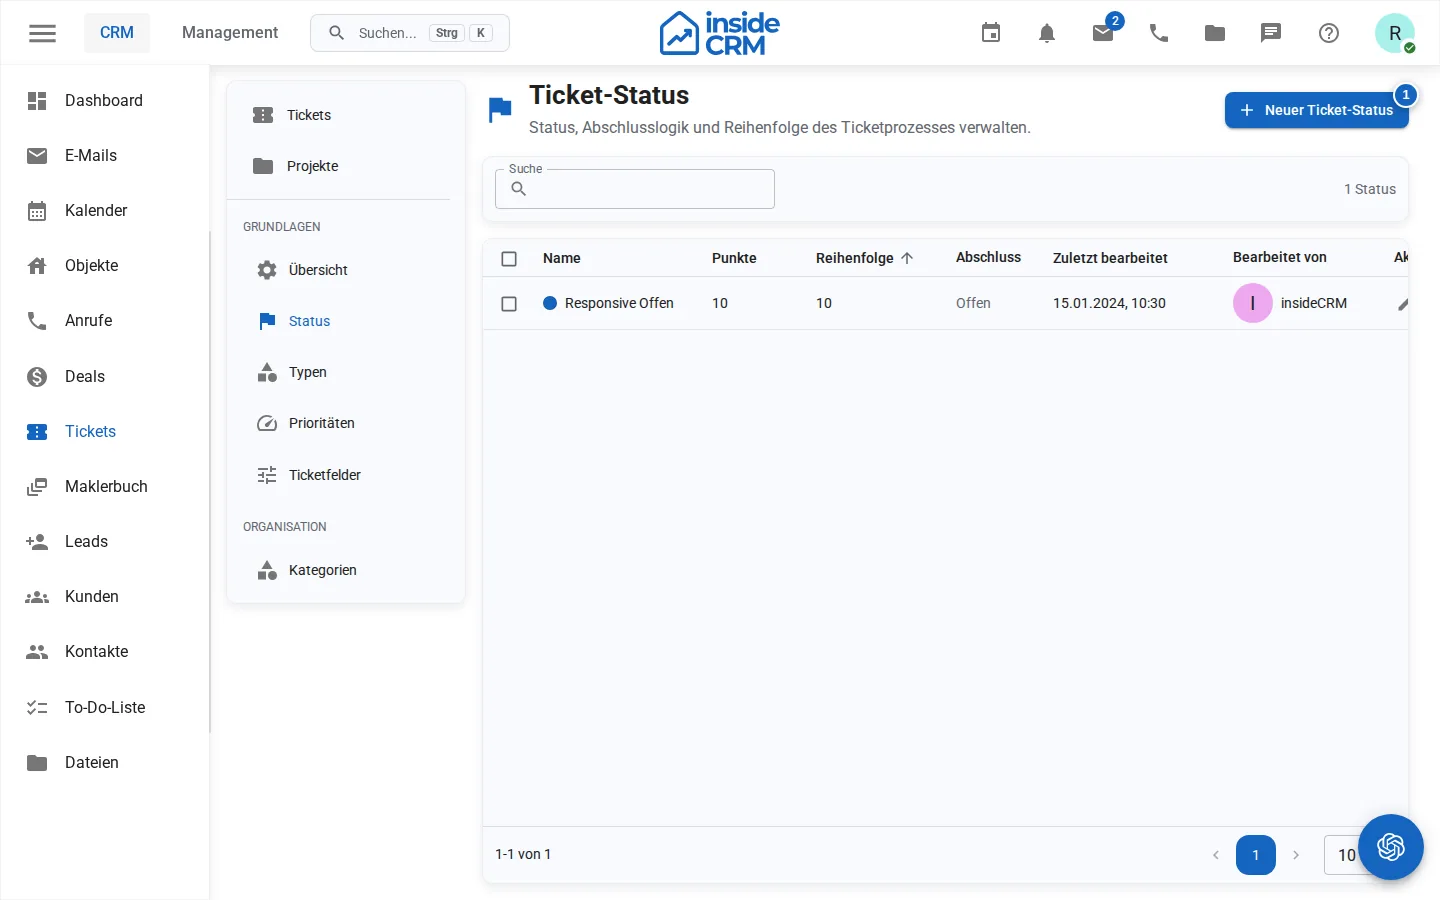
Manage ticket types
- Open Tickets → Settings → Types.
- Create a type or edit an existing one.
- Enter a clear Name and Order.
- Save and check the type selector in a ticket. Before removing a type, check existing tickets that use it.
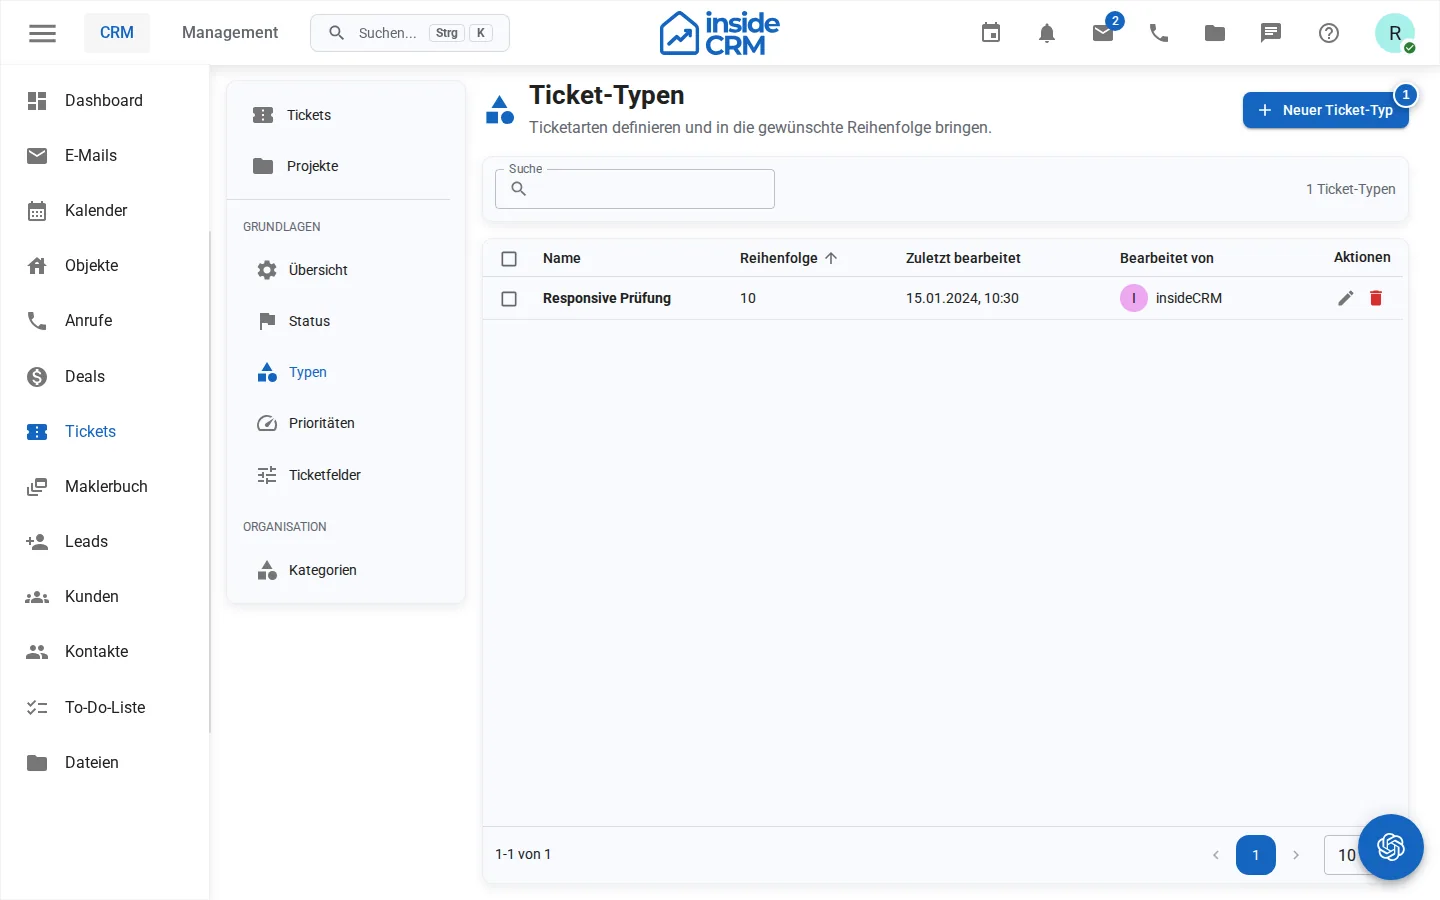
Manage ticket priorities
- Open Tickets → Settings → Priorities and create or edit a priority.
- Enter its Name, Color and numerical Level.
- Align levels with intended urgency so that ordering and meaning agree.
- Save and check the priority in the ticket form, list and board.
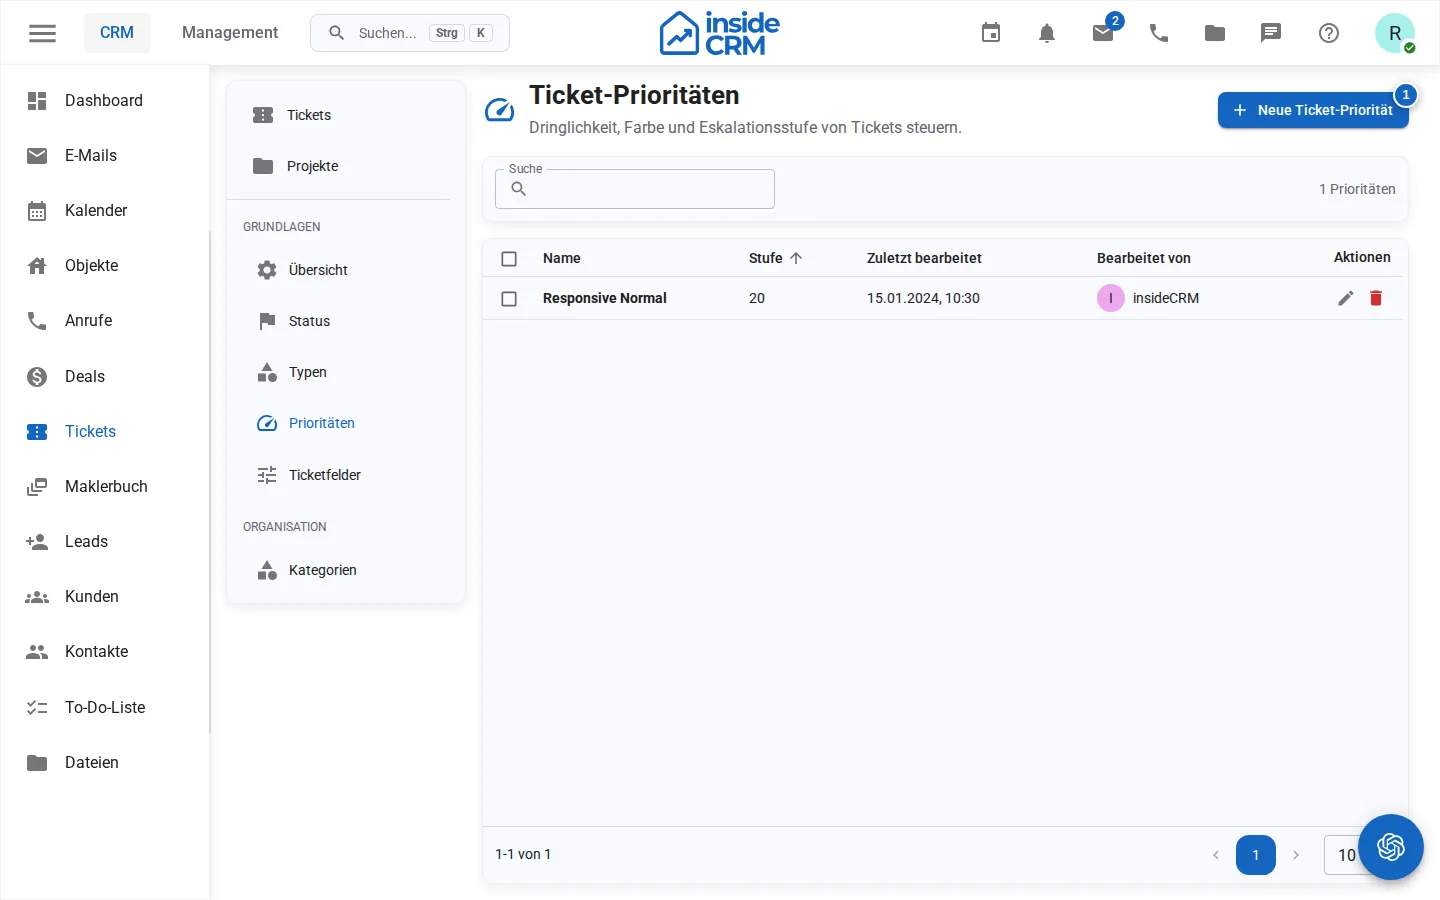
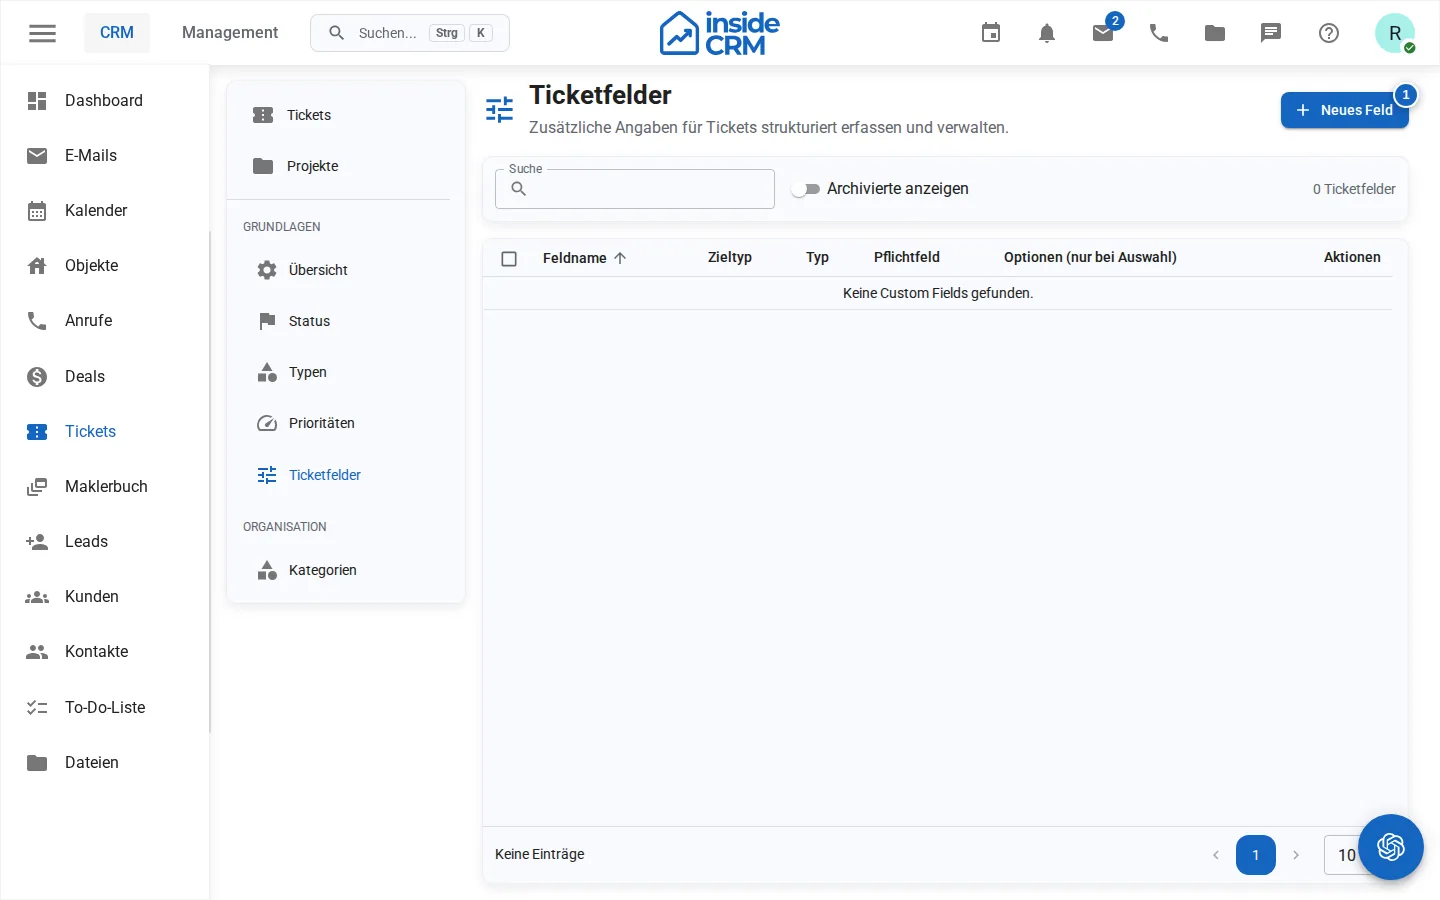
Manage ticket fields
- Open Tickets → Settings → Fields and create a field.
- Enter its Name and Type; the target entity in this area is Ticket.
- For a select field, enter comma-separated choices. Enable Required only if all affected tickets can supply a value.
- Save and test the field when creating and editing a ticket.
The type cannot be changed after creation. If another type is needed, create a new field and plan how existing values will be transferred. Additional visibility rules are not configured in the general field form.
Manage ticket categories
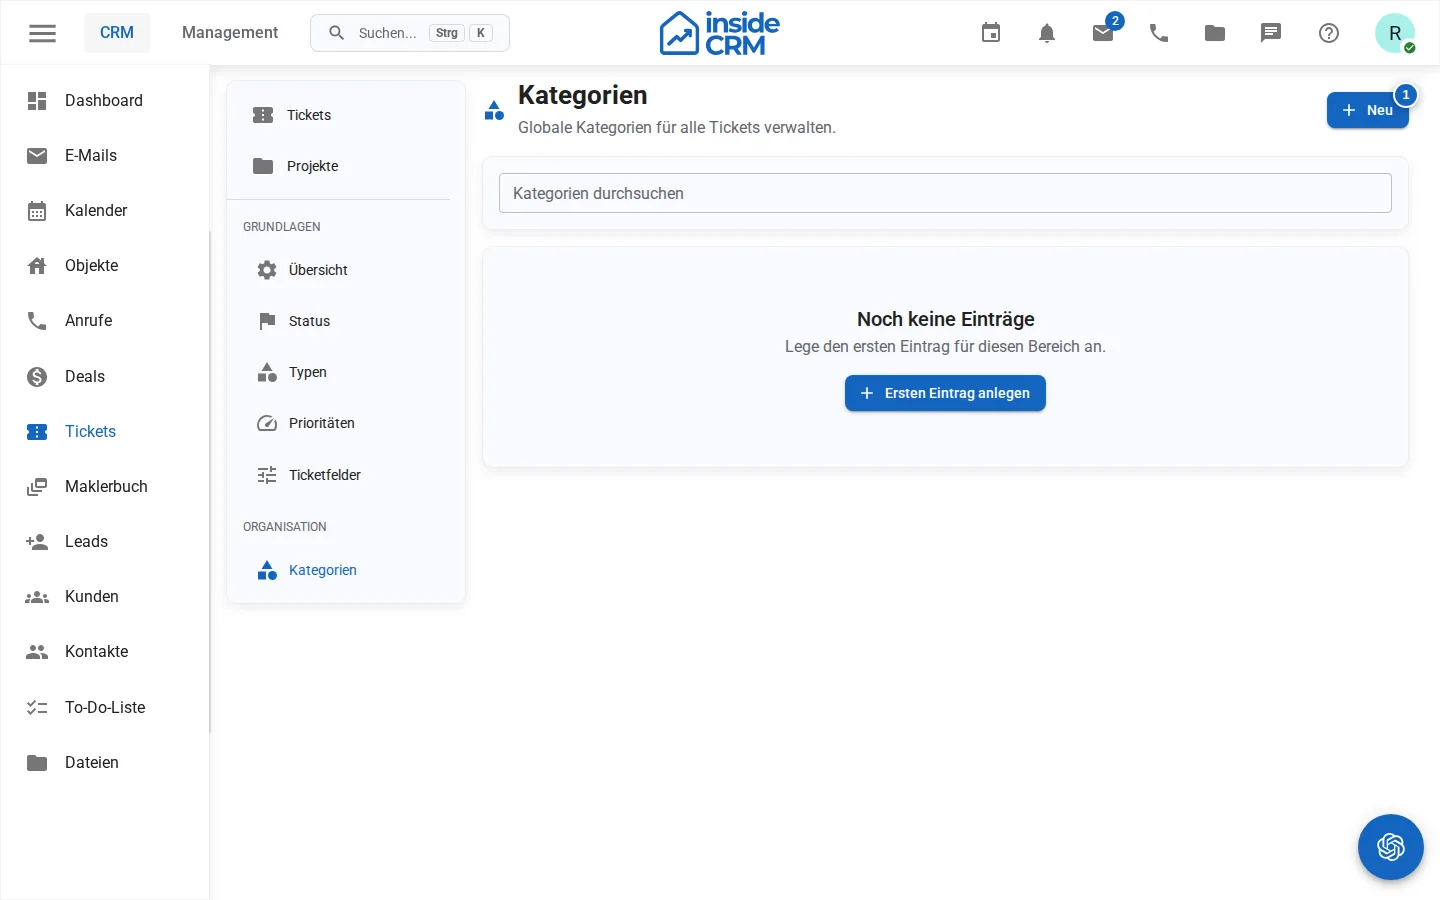
- Open Tickets → Settings → Categories.
- Review existing categories and create a clear name or edit the relevant category.
- Save and check the category selector in a ticket.
- Maintain project-specific categories in the respective project settings; distinguish them from global categories.
Result
New or changed values are available in ticket forms, filters, boards and evaluations.
Variations and special cases
Prefer renaming to deleting and recreating values so historical assignments remain intact. After production use, do not change field types without a data migration.
Troubleshooting
Check administration permissions, required fields, unique names, and existing uses. Test each change with a demo ticket.